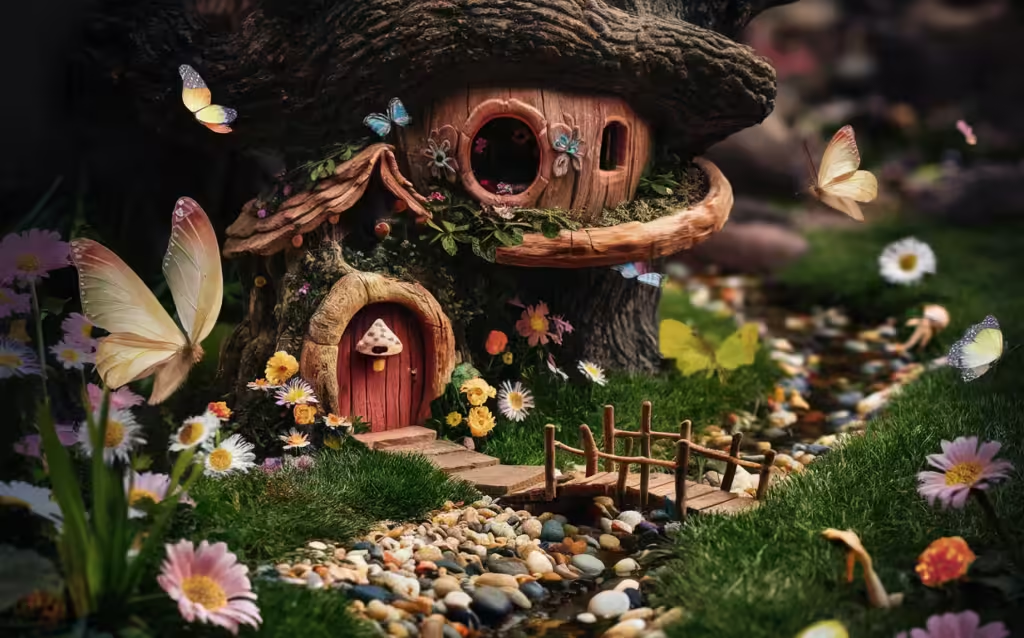
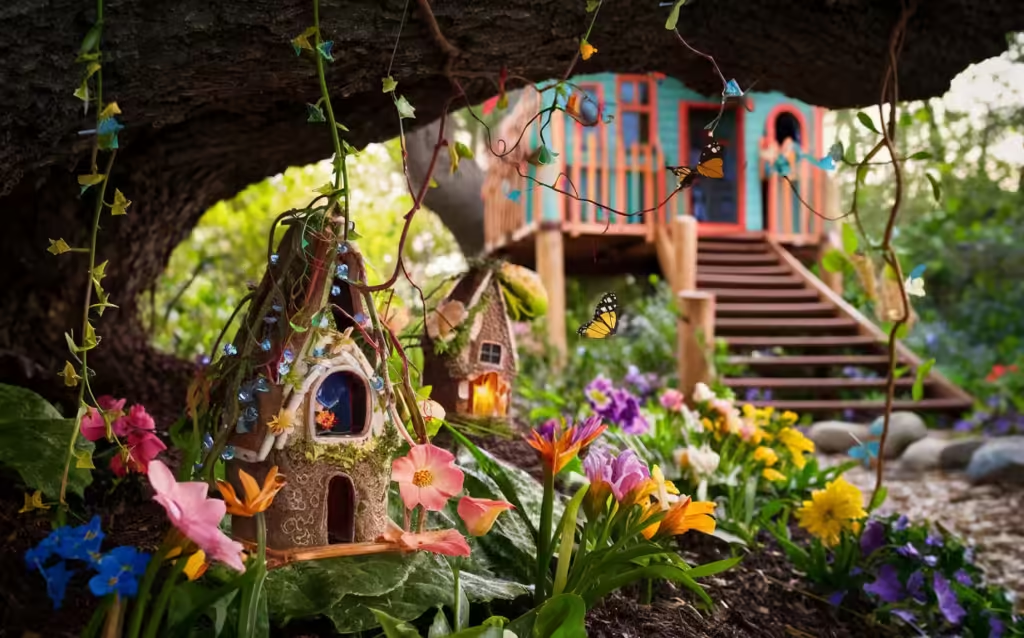
Imagine a secret fairy garden nestled against a tree beneath your kids’ treehouse. This enchanting corner will become a magical space where imaginations can run wild. Here’s a step-by-step guide to creating your own fairy garden, complete with various elements to enhance its charm.

Step 1: Choose the Perfect Location
Select a tree in the corner of your yard, preferably one that’s part of your kids’ treehouse setup. This tree will provide shade and a natural backdrop for your fairy garden.
Step 2: Gather Your Materials
Essential Supplies:
- Miniature fairy figurines
- Fairy house
- Fairy garden furniture
- Miniature animals
- Pathway stones
- Succulent plants
- Additional fairy garden accessories (bridges, toadstools, etc.)
- Miniature garden tools
- Fairy lights
- Miniature pond with a bridge
Step 3: Prepare the Ground
Clear the area of any debris, weeds, or large rocks. Create a clean, flat surface where your fairy garden will take shape. Add a layer of garden soil if necessary to make planting easier.
Step 4: Install the Fairy Houses
Start by placing the fairy house as the focal point of your garden. Position it against the tree for a natural look. This will serve as the central element around which other features are arranged.
Step 5: Arrange the Fairy Garden Furniture
Set up the fairy garden furniture around the fairy house. Create a cozy seating area with the miniature tables and chairs. Position these items to suggest a welcoming space for fairies to gather.
Step 6: Add Pathways
Use the pathway stones to create winding paths leading to the fairy house and other areas. Arrange the stepping stones to form natural-looking trails that invite exploration.
Step 7: Plant Secret Fairy Garden Plants
Use succulent plants to add greenery to your garden. Plant them along the pathways and around the fairy house. Succulents are low-maintenance and perfect for a fairy garden setting.
Step 8: Incorporate Fairy Garden Animals
Scatter the miniature animals throughout your garden. Place them near the pathways and furniture to give the appearance of a lively, inhabited space.
Step 9: Add Special Accessories
Enhance your garden with additional accessories like bridges, toadstools, and other charming elements. These items will increase the magic of the space.
Step 10: Install the Fairy Lights
Wrap fairy lights around the tree and along the pathways. This will create a magical glow, especially in the evenings, making your fairy garden sparkle.
Step 11: Create a Secret Fairy Garden Pond
Place a miniature pond with a bridge in a prominent spot. This can be a focal point of your garden, adding a water feature that enhances the enchanting atmosphere.
Step 12: Maintain Your Garden
Use miniature garden tools to keep your garden tidy. Regularly remove fallen leaves, trim plants, and reposition items as needed to maintain the magical feel.
Seasonal Fairy Garden Themes
Create a fairy garden that changes with the seasons! Here are some ideas to keep your fairy garden enchanting all year round:
- Spring: Add tiny flowers like daisies and tulips, and consider pastel-colored accessories.
- Summer: Incorporate bright, vibrant colors and beach-themed items like tiny seashells and fairy hammocks.
- Autumn: Use miniature pumpkins, fall leaves, and warm-toned accessories to give your garden a cozy fall look.
- Winter: Create a snowy fairy wonderland with faux snow, tiny Christmas trees, and miniature sleds.
Incorporating Natural Elements
Enhance your fairy garden by incorporating natural elements:
- Rocks and Stones: Use different sizes and colors of rocks to create pathways, borders, and seating areas.
- Twigs and Branches: Form mini fences, fairy huts, or trellises for climbing plants.
- Moss and Lichen: Add these to give a lush, green look and make your garden more fairy-friendly.

Interactive Elements for Kids
Make your fairy garden interactive to keep your kids engaged:
- Fairy Mailbox: Install a tiny mailbox where your kids can leave letters for the fairies.
- Story Stones: Paint small stones with different fairy-themed images and encourage your kids to create stories using the stones.
- Fairy Door: Add a small door at the base of the tree to spark imagination about where the fairies might live.
Step-by-Step Layout:
- Central Fairy House: Place the fairy house against the tree.
- Seating Area: Arrange fairy furniture around the house.
- Pathways: Create pathways with the stepping stones leading from the house to different parts of the garden.
- Planting Areas: Distribute succulent cuttings along the pathways and around the seating area.
- Animal Placement: Position miniature animals near the pathways and furniture.
- Accessory Placement: Add bridges, toadstools, and other accessories.
- Lighting: Wrap fairy lights around the tree and along the pathways.
- Water Feature: Place the miniature pond in a visible spot within the garden.
By following these steps, you’ll create a magical secret fairy garden that will be a delightful addition to your yard. This enchanting space will inspire creativity and provide endless enjoyment for your children. Happy gardening!
Last update on 2025-09-17 at 18:45 / Affiliate links / Images from Amazon Product Advertising API. This page contains affiliate links. As an Amazon Associate, I earn from qualifying purchases.

