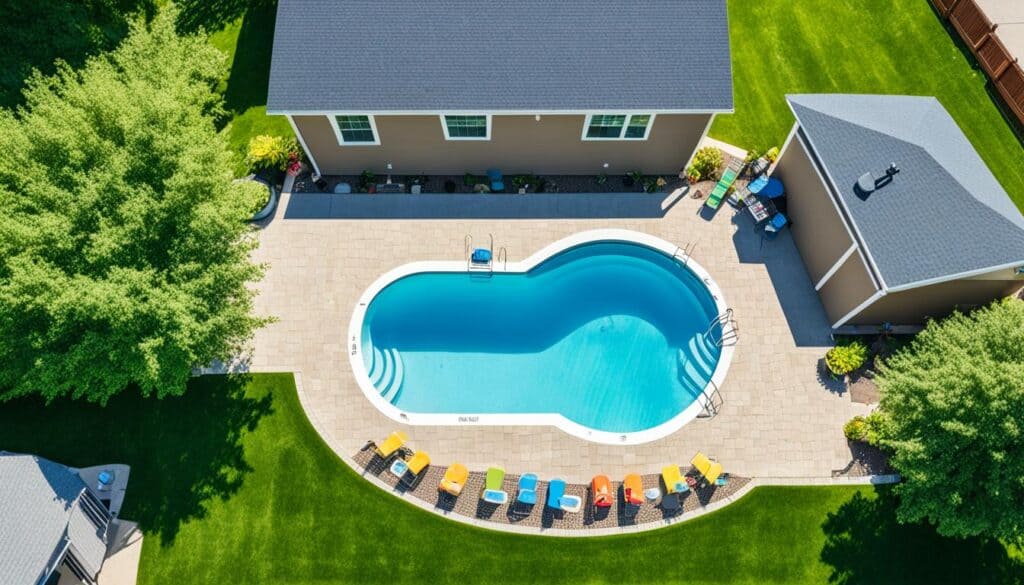
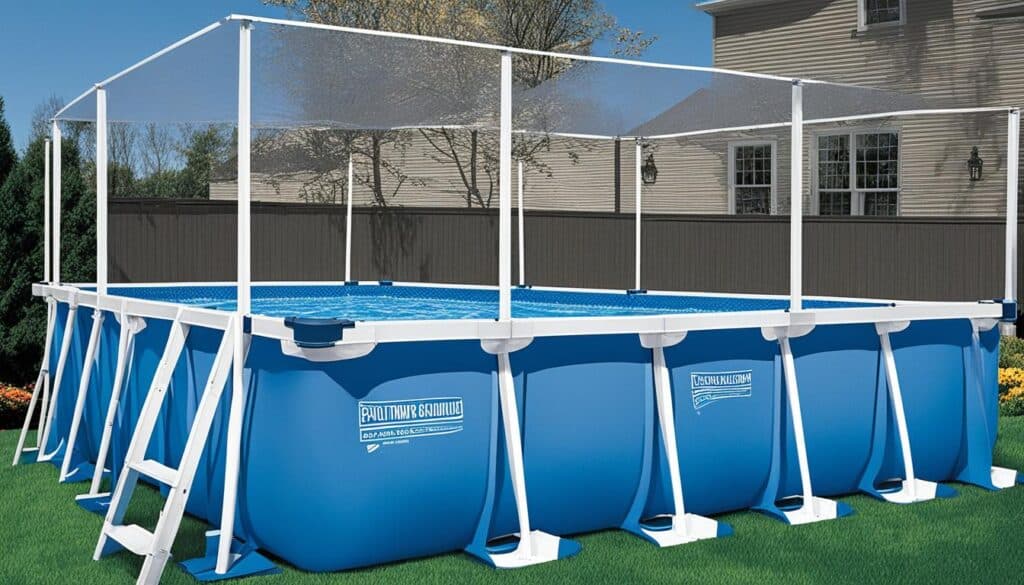
Why does setting up an above ground pool seem hard when it’s actually a doable weekend task? This detailed above ground- pool installation guide will show you the necessary above ground pool installation steps. You will learn to turn your backyard into a paradise in no time.
Key Takeaways
- Most installations need extra hands for heavy parts.
- The foundation material can be anything from concrete slabs to grass and dirt.
- A 2-4 inch sand layer makes a good base for the pool liner.
- It’s important to level the bottom track perfectly to avoid collapse.
- Setting up pool wall supports and sealing the skimmer mouth properly is key for stability and preventing leaks.
Choosing the Right Pool and Tools
When I began looking for an above ground pool, it felt like an Olympic sport. There’s a lot to think about. But, I’ll show you how.
Make sure the pool’s spot has stable ground and is clear. You don’t want the pool under power lines or too close to wild plants. Surprises from these can be annoying.
Picking the right pool kit is more than just the pool. It should have a pump, filter, liner, and skimmer. I learned the hard way these are essential.
With your dream pool chosen, it’s time to get the right tools. Here’s a list of must-haves for an easy setup:
According to the City of Kaneohe, some rules may demand a pool be at least four feet deep or fenced. And, you might need a permit for installation. Always check local laws before starting.
- Stakes
- Shovel
- Rake
- Tape measure
- Screwdriver
- Drill
- Wrench
- Leveler
- Two-by-four board
- Hand tamp
Those tools are needed for creating a flat foundation for your pool. That little tool, a hand tamp, works magic.
A garden hose is crucial for the sand bed and filling the pool. Patio blocks help support the pool’s edges.
Don’t overlook a foam cove and spray paint to outline your pool area. These make setup smooth and fun, like painting but with splashes.
When selecting your pool and accessories, remember—it’s about safety and enjoyment, not just fun in the water!
Selecting and Preparing the Pool Site
So, you’re ready to get an above ground pool. First, you need the right spot for it. Think about where you’d place a lawn chair, then add more thinking and rules.
First up, let’s talk permits. Yes, even pools need them. Knowing what’s needed makes everything easier. If unsure about permits, check with your local building department. They’ll guide you through the rules and restrictions.
Next is preparing the site. Pick a place that’s easy to reach for setup and taking care of it later. Make sure it’s far enough from tree roots and your house. Also, check that it’s safe from underground utilities and easements. You’ll want to have these areas marked off.
Now, focus on making the ground level. You might need to dig or add sand. Place patio blocks under the pool supports for a firm base. This stops your pool from leaning.
Think about the space around the pool too. You need room for cleaning and upkeep. Installing a pool is a group effort. It involves lifting, filling, and wiring tasks best done together.
Finally, a nod to Watson’s experts for their help. They have over 50 years of experience. After picking and prepping your spot, you’re all set for that first dive. Remember, a good start means a smoother installation.
Setting Up the Pool Frame
Alright, folks, buckle up because setting up the above ground pool frame is where the magic begins! First off, we’re talking ground rules of pool fun, literally. The bottom track is your foundation. This crucial step ensures a level base, setting the stage for everything that follows.
Here’s the pro tip: Spend a little extra time here. Trust me, you don’t want your pool walls doing a lean or shimmy.
Next up in the above ground pool assembly game is aligning your bottom rails. These babies slip into the vertical end caps, forming the pool’s skeletal shape. Check each connection for level consistency as you go.
Moving on to the pool walls themselves – there’s no room for error. Seriously, call in your friends or family to help. Bribing with snacks is encouraged because the timing and weather must be just right. A mistake here could turn your backyard paradise into puddle city.
Once that’s done, it’s time for the grand entrance – the liner. Treat it with kid gloves to avoid tears and wrinkles. This is when your inner zen master needs to shine. Get that liner smooth and secure using stabilizer rails and coping strips, depending on its type.
Careful bolt placement and precision with patio blocks are crucial above ground pool installation techniques.
Let’s not forget about the top cap. This beauty locks everything in place, ensuring the pool remains solid. A solid frame means fewer worries and more splash time with the kiddos.
So folks, it’s all about precision, patience, and maybe celebrating with a cold one when done. You’ll have a perfect oasis to cool off in all summer long!
Above Ground Pool Installation: Attaching the Pool Walls
Let’s dive right into the hardest task of pool setup: attaching the walls. Imagine you and your gang holding up a huge, floppy metal roll. That’s the pool wall, ready to challenge your patience.
To start, you must unroll and place them in the prepped track. It’s crucial because the bottom rails and paver stones need to match precisely. Every crushed stone should snugly fit around the pavers. Do it right, and you’ll be set.
Joining the walls smoothly takes aligning, adjusting, and patience. You’ll use bolts and duct tape to secure seams while watching for cutouts. It feels like becoming ‘duct man.’ Using stakes to keep walls stable is a game changer. They help the metal stand firm, much like a toddler learning to walk.
Every step is vital for the pool’s strength and life span. Avoid shortcuts, follow your kit’s guidelines, and maybe take an extra coffee break. Precision now leads to relaxing swims later. Remember, installing pool walls is a challenge but definitely doable with teamwork.


